

Sandwich Panel Manufacturer Reveals Key Factors for Durable and Energy-Efficient Panels
2026-11-16
Most sandwich panel specification sheets look fine on paper—until the panels face real moisture, thermal cycling, and a few hard winters. Then the gap between a cheap panel and a durable one becomes hard to ignore. At LANYUN, we've spent years pinpointing what actually keeps panels structurally sound and thermally efficient long after installation. In this post, we break down the key factors that separate long-term performance from early failure—so you can specify with confidence.
Material Choices That Determine How Long Panels Really Last
The lifespan of a panel often comes down to the quiet decisions made at the material level long before installation. A galvanized steel frame might shrug off decades of moisture, while an uncoated aluminum edge can slowly surrender to salt air, compromising the seal and letting humidity creep into the core. It’s rarely a sudden failure—more a gradual negotiation between the chosen alloys, the bonding agents, and the environment they’re asked to endure.
Core materials play an equally stubborn role. Polyisocyanurate foam offers excellent thermal stability and resists delamination over time, but it demands a flawless facer adhesion to prevent micro-voids from expanding with freeze-thaw cycles. Rock wool, by contrast, brings its own fire resistance and moisture tolerance, yet its heavier density can stress joint connections if the structural design doesn’t account for that extra load. The best long-term performers aren’t the panels with the highest spec sheet numbers—they’re the ones where the foam, adhesive, and metal skin expand and contract at similar rates, avoiding the internal shear that quietly breaks bonds year after year.
Coatings and sealants are the final arbiters of durability. A fluoropolymer finish might cost more upfront but resists chalking and fading far longer than a standard polyester coat, especially under harsh UV exposure. For joints, a butyl-based sealant retains flexibility and adhesion through temperature swings, unlike cheaper acrylics that harden and crack, inviting water ingress. Ultimately, a panel’s true service life is written in the compatibility of these choices—when one material fails to play well with its neighbors, the whole assembly ages faster than any single component ever would on its own.
What Core Density Means for Everyday Insulation Performance
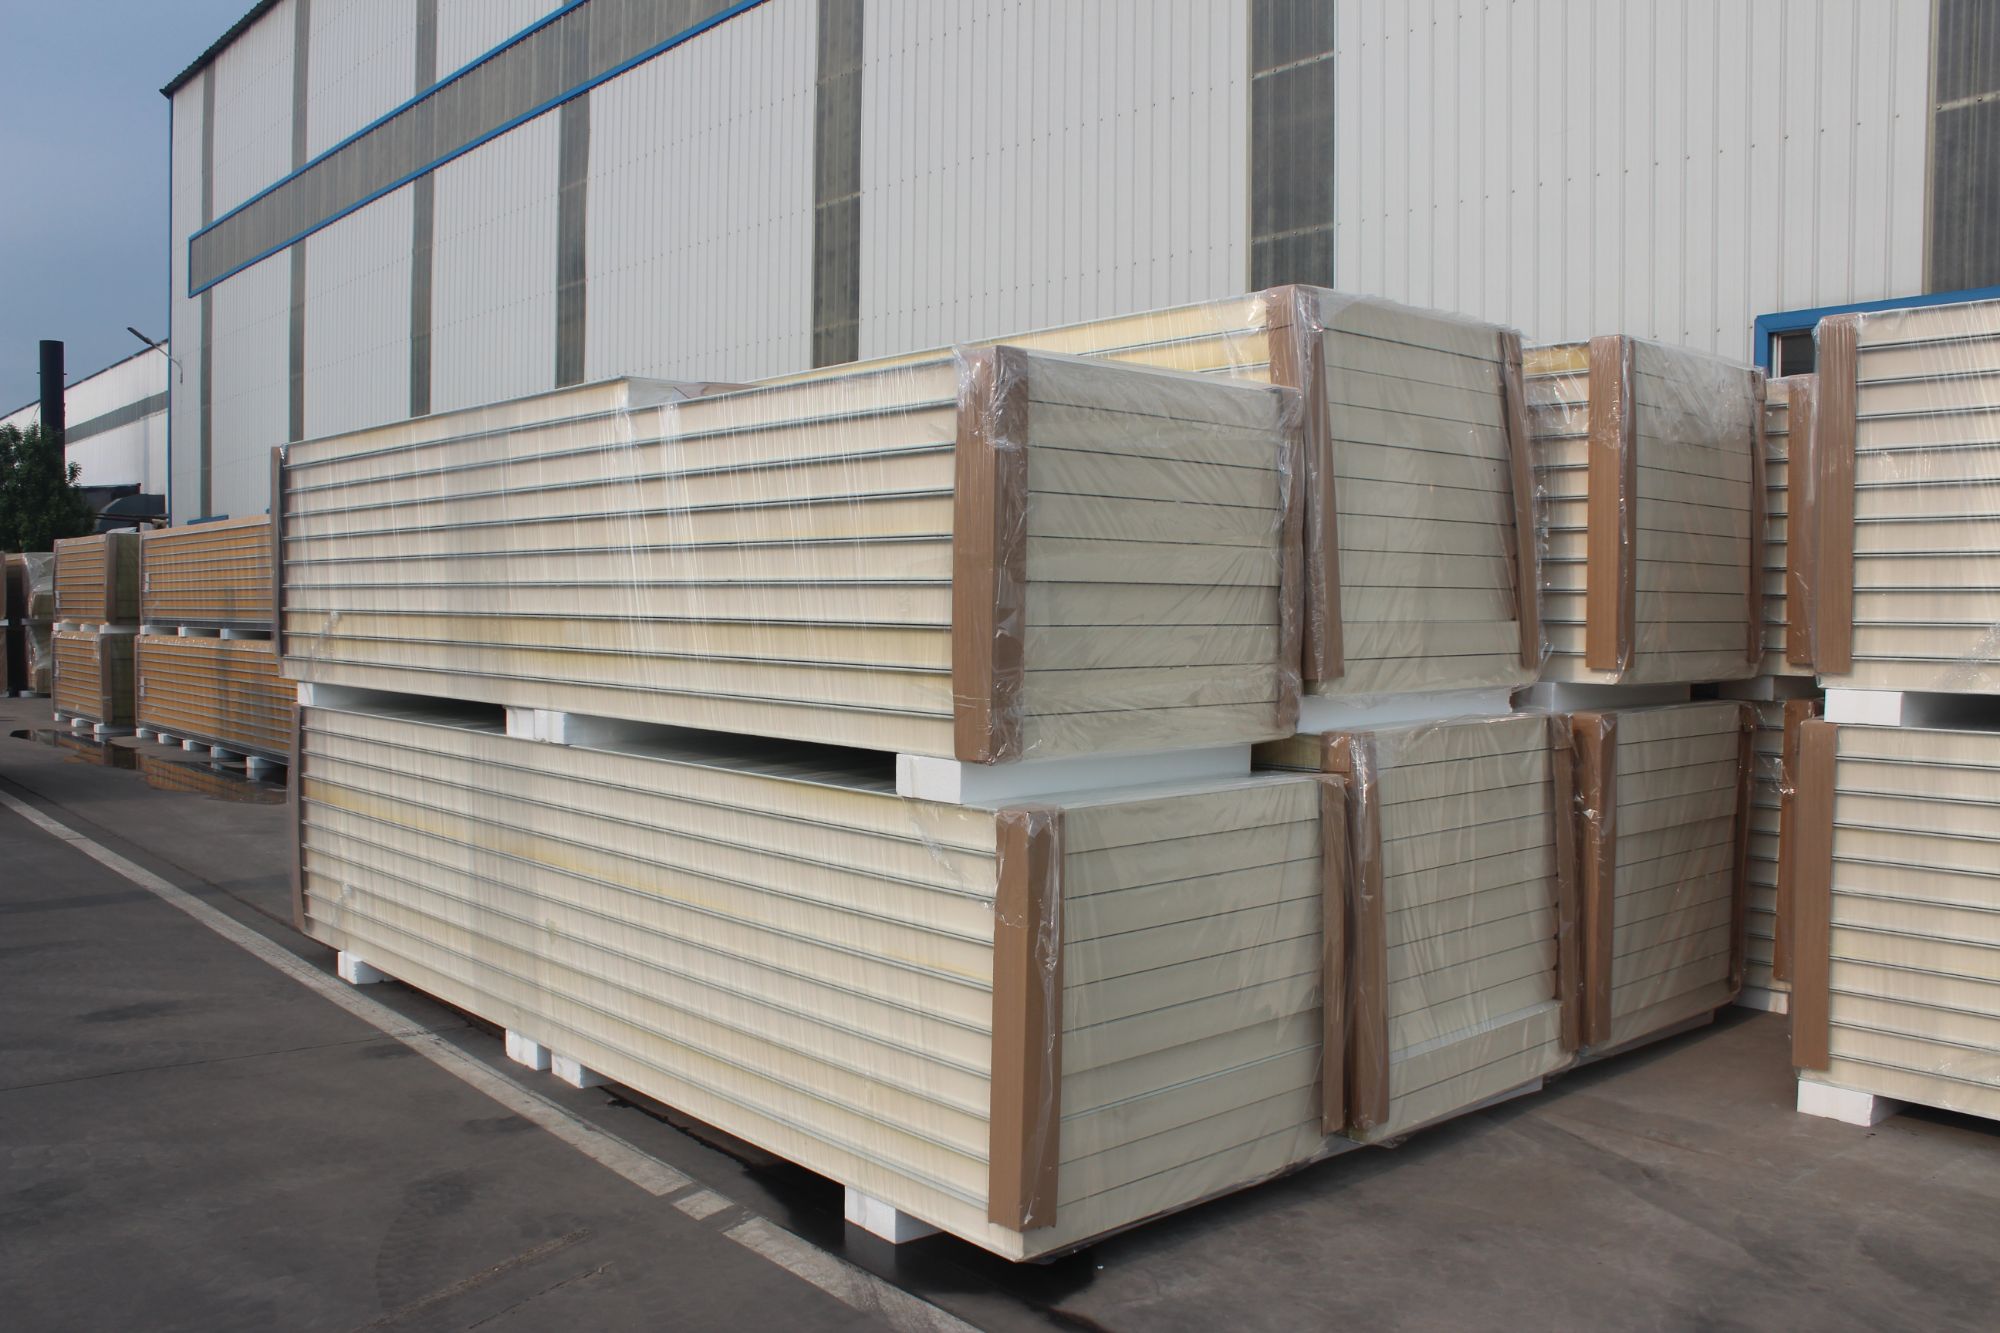
Core density refers to how tightly the insulating fibers are packed within a material, and it directly shapes how that material behaves outside a lab. A lower density traps more still air, which is what actually slows heat transfer—air is a poor conductor, but only when it isn't moving. That's why a lightweight, fluffy jacket or a loosely filled wall cavity often feels warmer per ounce: the air pockets are large enough to resist convection but small enough to avoid becoming mini wind tunnels.
In everyday use, this means the same type of insulation can perform very differently depending on how it's compressed or settled. For instance, a down sleeping bag that gets stuffed into a stuff sack every morning gradually loses loft, and as its core density increases in spots, cold patches appear. Similarly, fiberglass batts squeezed into a too-thin stud bay lose their low-density advantage, turning a theoretically high R-value product into a mediocre barrier because the trapped air has been forced out.
The practical takeaway is that matching density to the application matters more than chasing a single spec. High-density boards work well under a concrete slab where compression is unavoidable, while low-density loose fill shines in attics that never bear weight. By paying attention to how density shifts with use—whether from moisture, gravity, or overstuffing—you can keep insulation performing closer to its original promise, season after season.
Bonding Techniques That Keep Layers Working as One
Getting separate layers to behave like a single piece of material rarely comes down to just picking a strong adhesive. Most of the work happens before the bonding step, when surface contamination, oxide films, or even the way a previous process left behind a microscopic residue can quietly undo the best glue. Techniques like plasma cleaning, corona treatment, or a quick pass with a solvent that actually matches the substrate chemistry change the surface energy enough for the adhesive to wet out evenly. Without that, you end up with patchy contact, trapped air, and stress concentrations that show up later as delamination under thermal cycling or mechanical load.
Pressure and heat during curing are just as important as the adhesive chemistry itself. A uniform clamping system, whether it is a vacuum bag for composites or a heated platen press for laminates, forces the adhesive into the tiny valleys of each surface while squeezing out air pockets that would otherwise become voids. The temperature ramp rate matters too: heating too fast can cause the adhesive to skin over before it has flowed into the surface texture, while holding at an intermediate temperature often lets trapped volatiles escape without bubbling. For thicker stacks, a slight overpressure on the outer edges stops the layers from shifting as the adhesive thins under heat.
Some of the most durable bonds come from giving the adhesive something mechanical to grab onto, not just a smooth interface. A controlled roughening step—whether it is fine grit blasting, chemical etching that opens up pore structures, or laser texturing that creates a repeating pattern of undercuts—dramatically increases the bonded area and creates a tortuous path for any crack trying to propagate along the layer boundary. Pairing that surface texture with an adhesive that has a slightly lower modulus than the substrates lets the bond line absorb expansion mismatches gracefully, so the layers flex together instead of fighting each other at the interface.
Sealing Details That Stop Moisture Before It Starts
Most moisture problems don't start with a failed gasket—they start with a surface that was never truly prepared. Even a high-quality EPDM seal can't compensate for a flange with machining marks or a concrete joint with loose debris. A clean, dry, lightly abraded bonding surface lets the sealant wet out across the full contact area. Skip that step, and water finds a capillary path within weeks, not years.
Corners and penetrations are where sealing details earn their keep. A straight run of weatherstripping is easy; the real test is the 90-degree turn around a window sill or the spot where a pipe passes through a wall. Pre-formed corner boots, butyl tape that can be tooled into complex shapes, and sealant beads applied in a continuous, unbroken line all work better than cutting and hoping. The goal is to eliminate any seam that can act as a wick, because once moisture gets behind the seal, it starts working on the adhesive bond from the inside.
One detail that often gets overlooked is compression set. A foam or rubber seal that's squeezed too hard during installation will lose its ability to push back over time, leaving a microscopic gap exactly where water pressure is highest. Specifying the correct thickness, using compression stops, and allowing for thermal movement between dissimilar materials can extend the life of a seal far beyond the product's basic rating. When the detail is done right, moisture never gets the chance to start its destructive cycle.
Thermal Bridging: The Silent Drain on Energy Bills
Most homeowners picture insulation as a snug blanket wrapping their house, but few realize that blanket has holes—thermal bridges—where heat sneaks through the framing, corners, balconies, and window edges. These are not dramatic leaks or gaping cracks; they're the quiet pathways where materials like steel studs or concrete slabs conduct warmth straight past your carefully installed insulation. The result? Your furnace works overtime in January while your air conditioner struggles through July, and the energy bill climbs without a single visible sign of trouble.
Thermal bridging often hides in the bones of a building—at the junction of a floor and exterior wall, behind a metal door frame, or wherever a concrete balcony juts out from the living space. Each bridge acts like a cold highway in winter, pulling indoor heat outward and creating chilly spots on interior surfaces. Over time, those chilly spots can collect condensation, inviting mold and peeling paint, but the real sting is financial: studies routinely show that thermal bridges can reduce the effective R-value of an insulated wall by 30% or more. That's not a rounding error—it's a slow, steady tax on comfort.
Fixing thermal bridging starts with knowing where to look. Infrared cameras reveal the cold stripes inside walls, and a hand pressed against an exterior corner on a frosty morning tells the same story. Targeted solutions exist: adding rigid foam sheathing outside the framing, using thermal breaks in steel connections, or choosing insulated window frames. But because this problem is invisible and gradual, it rarely makes the top of a renovation list—until the utility bill arrives. Treat thermal bridging as a maintenance must, not an afterthought, and your home will stop leaking money one degree at a time.
How Real-World Testing Exposes Weak Panel Designs
Lab results rarely tell the whole story. Panels that survive controlled stress tests often buckle under the messier conditions of daily use. Sunlight, temperature swings, vibration, and moisture work together in ways a single-variable test never captures. A mounting point that seems sturdy on a bench can loosen after weeks of thermal expansion and contraction, leaving the panel rattling or sagging long before its rated lifespan.
Real-world installs also reveal how small design choices amplify problems. Edges that meet perfectly in a clean factory start to gap once dust and humidity settle in. Coatings that look flawless on a demo unit peel at the corners after a few months of handling and exposure. These failures rarely show up in short-term testing because they depend on accumulated stress, not a single overload.
The patterns are consistent enough to read like a warning. Panels with rigid frames and brittle adhesives tend to crack at the corners first. Those with thin laminates warp under direct sun. Testing outside the lab turns these weaknesses into clear, repeatable failure points, giving designers a better map of what to reinforce before the next production run.
FAQ
The core is the heart of the panel. Polyisocyanurate (PIR) and mineral wool cores tend to outperform because they resist moisture, maintain thermal stability, and don't sag over time. PIR offers excellent insulation with less thickness, while mineral wool adds fire resistance without sacrificing strength.
Consistency matters more than people expect. Panels produced under controlled temperature and pressure ensure the core bonds fully to the metal skins, eliminating air gaps that cause thermal bridging. A well-bonded panel keeps its U-value stable for decades instead of degrading after a few seasons.
Not necessarily. Thickness helps, but the real factor is the core's thermal conductivity. A thinner panel with a high-performance PIR core can outperform a thicker panel with a lower-grade EPS core. The right specification balances thickness, weight, and insulation value for the specific building use.
The skins protect the core from weather, UV, and mechanical damage. Galvanized or coated steel with a high-quality finish resists corrosion, especially in coastal or industrial environments. If the skin coating fails, moisture gets in and the panel's performance drops quickly.
Ask for third-party test reports, not just marketing data. Look for certified thermal conductivity values, fire ratings, and long-term aging tests. A trustworthy manufacturer will provide documentation showing how the panel performs after simulated years of use, not just when it leaves the factory.
Poor joint sealing is the biggest one. If panels aren't locked tightly or sealants aren't applied correctly, water and air penetrate the joints. That leads to corrosion, mold, and thermal leaks. Proper training and using the manufacturer's recommended fasteners and sealants are non-negotiable.
Usually less. Because they resist thermal movement and moisture, they don't develop cracks or gaps as quickly. Occasional inspection of joints and surface coatings is enough. The key is to address minor damage early before it compromises the core.
Moisture control inside the panel. In cold environments, water vapor can condense inside the core if the panel isn't properly sealed. A good manufacturer will include a vapor barrier or specify a core that's closed-cell to prevent internal condensation, which would otherwise freeze and expand, damaging the panel.
Conclusion
A sandwich panel's lifespan hinges on choices made long before installation. The outer skins and core material must be matched to the building's exposure—harsh UV, humidity, and temperature swings all eat away at inferior metals or foams. Core density is not just a specification; it directly controls how well the panel resists heat flow day after day, and a low-density core can collapse under wind load or lose insulation value over time. Bonding technique matters equally: if the adhesive or lamination process does not create a continuous bond between the metal faces and the core, the layers will delaminate, creating voids that become weak points and moisture traps.
Moisture intrusion usually starts at edges, joints, and fasteners, so sealing details need more attention than a quick bead of caulk. Properly designed side joints, factory-applied sealants, and thermal breaks around panel connections prevent water from reaching the core, where it can freeze, expand, and destroy the panel from inside. Thermal bridging is a silent drain on energy bills: metal-to-metal contact at panel edges or fasteners allows heat to bypass the insulation, even when the panel's rated R-value looks good. That is why real-world testing matters. Full-scale panel assemblies should be subjected to cyclic wind pressure, water spray, and thermal cycling to expose weak designs before they reach a jobsite. Manufacturers who invest in that level of validation produce panels that stay flat, dry, and efficient for decades.
Contact Us
Contact Person: Nia
Email: [email protected]
Tel/WhatsApp: +86 18954360337
Website: https://www.sdppgi.com