

Custom Chocolate Enrober Tips for Perfectly Coated Confections
2026-11-23
Getting a flawless shell on every confection rarely comes down to luck. It comes down to enrobing technique—and the right machine setup. Whether you’re coating caramels, nougat, or delicate centers, small adjustments make the difference between a dull, patchy finish and a glossy, even layer that snaps cleanly. In this guide, we’re sharing practical custom chocolate enrober tips that solve common coating problems before they start. From tempering curves to curtain thickness and belt speed, you’ll learn how to dial in your line for repeatable results. At GUSU, we’ve seen how the right enrobing approach turns everyday batches into high-end products—so let’s get your confections coated the way they deserve.
Get the Chocolate Temperature Right Before You Even Load the Belt
Most tempering failures happen before a single chocolate drop touches the belt. The working temperature you settle on determines whether the cocoa butter crystals form a tight, glossy shell or leave you with streaks and soft edges. Rather than relying on the generic ranges printed on bulk chocolate bags, watch how your specific batch behaves as it cools. A dark chocolate that idealizes at 31°C in one kitchen might need a degree lower after a humid morning or a recipe tweak in the fat content. Let the chocolate tell you when it's ready, not the other way around.
The moment loading begins, every second of hesitation undoes the careful work. Chocolate that sits above its working range for too long will thicken unevenly once it spreads, trapping air pockets where the belt can't release heat fast enough. If it drops too low, you get a paste that fights the depositor and leaves ragged edges. Keep a warm-water bath nearby, but don't hover over it with a thermometer like a nervous barista. The real skill is reading the sheen on the spatula and the pull of the mass as it flows. That instinct, not a digital readout, keeps the line running smooth.
What trips up most operators is treating temperature as a single target to hit. In practice, you're managing a narrow corridor from the melter to the belt, and that corridor shifts with the room. A draft from a loading door or a cold stainless bowl left too close to the line can knock half a degree off the chocolate before it lands. Warm your tools even when it feels redundant. Scrape down the sides where hot spots hide. If the first few rows come out with a dull patch or a waxy edge, don't adjust the enrober; adjust where the chocolate was before it got there. Small corrections upstream beat re-tempering a full batch downstream.
Let Viscosity Set the Enrober Speed, Not a Preset Number
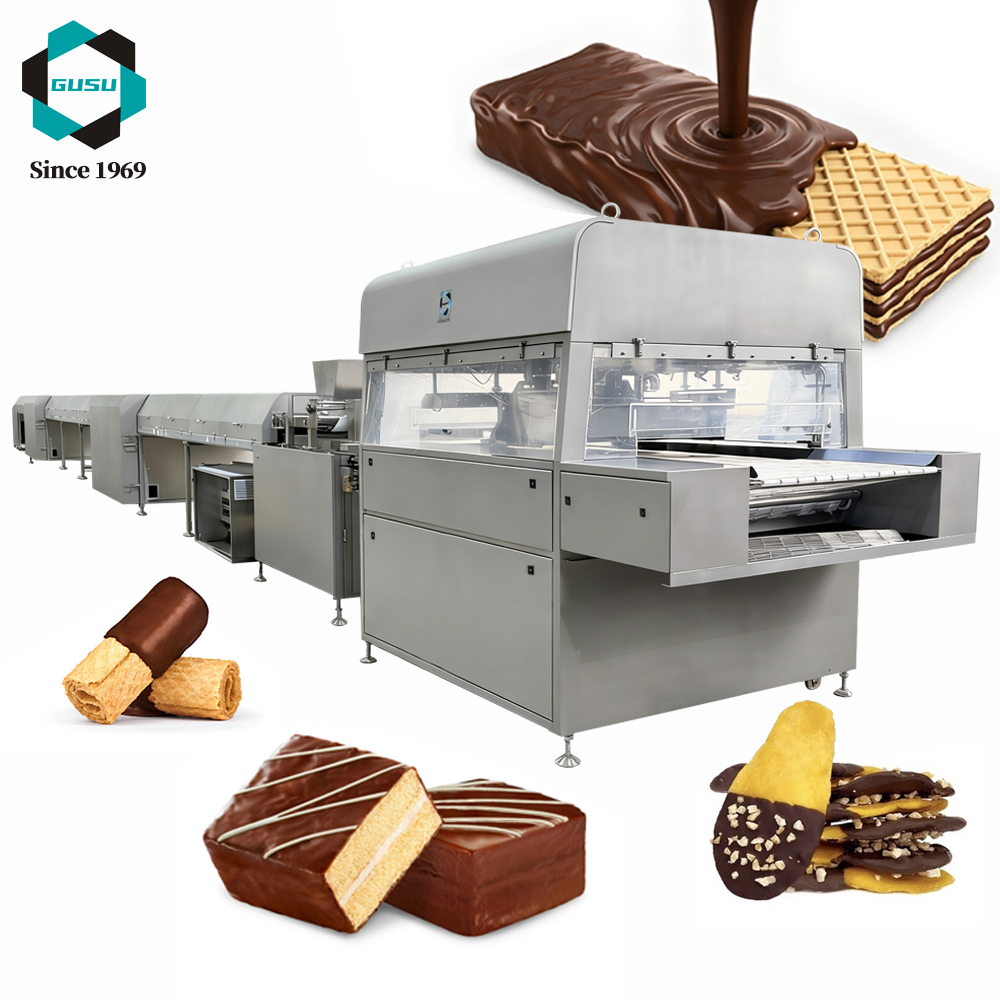
The way chocolate moves through an enrober has more in common with weather than with a fixed machine setting. A batch made on a humid morning will behave differently from one made in a cool, dry afternoon, even if the formula is identical. Watching how the chocolate folds, drips, and levels out gives a better read on the right belt speed than recalling the number that worked last week.
Thicker chocolate needs a slower pull so the curtain can settle around each center without dragging or leaving bare patches. A thinner batch can handle a quicker pace and still produce an even coating. If the enrober is running on a preset speed, the operator is often compensating elsewhere: adjusting temper, warming the chocolate, or accepting uneven coverage. Letting viscosity lead removes a lot of that guesswork.
In practice, this means making small speed changes while watching the curtain and the coating line. A few seconds of observation at the enrober will show whether the chocolate is behaving or being forced. When the speed follows the chocolate, the result is cleaner edges, better coverage, and fewer rushed corrections later.
Build a Steady Curtain That Coats Instead of Drenches
A steady curtain doesn't come from cranking the pressure higher or opening the valve all the way. It comes from slowing the release just enough that the liquid leaves the nozzle as a smooth, unbroken sheet. If you see spitting, heavy droplets, or a fan that pulses, back the flow down slightly and let the pattern settle into an even fall. The goal is to let the surface grab what it needs while the excess slides away gently.
Watch where the curtain lands. A good coat forms when the liquid has time to cling instead of bouncing off dry spots. Move across the surface at a pace that keeps the leading edge damp but not pooled. Overlap each pass by about a third, and keep the nozzle at a consistent height so the sheet stays intact from one side to the other.
Temperature and wind can break a curtain before it reaches the target. Work in cooler, still air when possible, and if you notice the sheet separating into ribbons, narrow the fan slightly or move a little closer. Small adjustments to angle and distance usually matter more than adding more liquid.
Stop Loose Crumbs from Turning Your Coating into Sludge
Loose crumbs don't just sit there—they soak up moisture, break apart, and slowly turn a smooth dredge or batter into a gritty, heavy mess. Once that happens, the coating goes on uneven and burns faster than the food itself.
Knock off excess flour or breading before each piece hits the wet mix. Keep one hand for dry work and one for wet, and pass the dry mix through a coarse sieve every few pieces to catch the clumps before they spread.
If the mixture starts looking grainy or thick, stop and fix it right away. Strain the liquid, then rebuild the body with a small amount of fresh starch or crumbs only if needed. A cleaner coating station keeps the crust crisp and the oil clean.
Use Air and Vibration to Create a Clean Foot with No Smearing
A smooth finish starts with letting the tool do the work instead of forcing it across the skin. The combination of pulsed air and rapid vibration breaks down rough patches in thin layers, so dead skin lifts away without turning into a damp paste that spreads over the surrounding area. This keeps the working zone dry and visible, which makes it easier to see exactly where you have already passed and where still needs a little attention.
The real difference shows up when you ease off on pressure. Short, gliding passes allow the vibration to loosen compacted skin while the air flow carries away the fine dust, leaving no chalky film behind. Because there is no heavy cream or wet residue involved, the foot stays clean throughout the process, and you are not left wiping smears off your hands, ankles, or the floor afterward.
What you end up with is a dry, even surface that feels smooth to the touch rather than sticky or coated. A quick rinse or a light brush removes the last traces of powder, and the skin is ready for moisturizer without any leftover grit interfering. It is a cleaner method that turns foot care into a simple, controlled routine instead of a messy cleanup job.
Cool Slowly and Keep the Finish Glossy, Not Dull
Gloss is mostly decided by how evenly the surface cools, so keep the finished piece away from cold drafts, open windows, and cold countertops. When the outside chills faster than the middle, a faint haze gets trapped just under the surface and the shine turns flat before it has a chance to set.
A slower cool-down works well in a closed cabinet, an oven with only the light on, or under a loose cardboard box. You are really just holding gentle, even warmth around the piece so the top stays fluid long enough to level out and reflect light cleanly. If the room feels comfortable rather than cold, you are already in the right range.
Resist the urge to speed things up once the surface looks tack-free. Moving a piece too soon or letting air blow across it can chill the skin and leave dull, cloudy patches that are difficult to correct. Let the temperature fall gradually on its own, and the final finish will keep a deeper, wet-looking gloss instead of a matte film.
FAQ
Usually it comes down to chocolate viscosity and belt speed. Warm the chocolate a degree or two, thin it with a little cocoa butter if the formula allows, and slow the wire belt so the excess has time to drain before the piece exits. Also check that the blower is not angled too steeply, which can push chocolate into crevices instead of clearing it.
Dark chocolate tends to run best around 31-32°C once tempered, milk is closer to 30°C, and white usually sits near 28-29°C. These are not universal because different couvertures have different fat and lecithin levels, so let the chocolate tell you. If it starts to set too fast on the mesh, it is too cold; if shells slide off, it is too warm.
A small foot is often desirable, but if it is thick and ragged, the chocolate is probably over-tempered or too cool. Raise the temperature slightly and extend the tapping or vibrating section. A quick burst from a warm air knife at the exit can also help pull the excess away before it settles.
Bubbles usually come from air trapped between the center and the chocolate, or from too much agitation in the tank. Make sure centers are at room temperature rather than cold, and keep the stirrer speed low enough to avoid whipping air into the chocolate. Letting the enrobed pieces rest on the mesh for a few extra seconds before the cooling tunnel also helps.
Not really. Caramels are denser and tend to sink or drag, so you may need more belt tension and a slightly thinner chocolate. Ganache centers are softer and can absorb heat, so a slightly cooler chocolate and less blower pressure help keep them from melting or squashing. A small test batch with each center is still the best way to dial it in.
Use a well-tempered chocolate with good fluidity, and let the pieces drain over a vibrating or oscillating section. A brief pass under a low-pressure blower removes most of the remaining excess without stripping too much. For very irregular pieces, try pre-coating with a little cocoa butter or a thin chocolate wash to seal the surface before the main enrobing.
Scrape down the tank walls and wire belt every couple of hours, and run a quick sieve through the chocolate if you are enrobing crumbly centers. A full cleaning at the end of the day is enough for most kitchens, but if you switch between dark and milk or introduce allergens, do a complete drain and rinse between products.
Conclusion
Most coating failures trace back to what happens before the first piece ever touches the belt. Tempering the chocolate to the right working range for the specific formula matters more than any machine setting, because a coating that is too warm or too cool will never set cleanly. Once the chocolate is in the enrober, let the viscosity dictate belt speed instead of relying on a fixed number from a manual. A heavier coating needs a slower, more deliberate pass, while a thinner batch can move faster without breaking the curtain. The curtain itself should fall in a smooth, even sheet that wraps the piece rather than flooding it, and keeping the bed free of loose crumbs or nut dust prevents the chocolate from turning thick and grainy as it recirculates.
The details after coating are just as important. A short burst of air or controlled vibration at the take-off point helps the excess chocolate release cleanly, leaving a tidy foot with no drag marks or smearing on the tray. From there, resist the urge to rush the cooling tunnel. Cooling too aggressively pulls moisture to the surface and knocks down the shine, so a slower drop in temperature keeps the shell stable and the gloss intact. Small adjustments to temperature, speed, airflow, and timing usually do more for consistency than chasing a universal recipe, especially when the batch size or kitchen conditions change.
Contact Us
Contact Person: Zhang Wei
Email: [email protected]
Tel/WhatsApp: 8618662577837
Website: https://www.chocomachinery.com