

Automotive Refinishing Company Secrets to a Flawless Factory Finish
2026-10-29
Ask any automotive refinishing company what separates a flawless factory finish from an average respray, and the answer rarely has anything to do with luck. The real secrets happen before the paint ever touches the panel—during the sanding and surface prep stages that most shops rush. In this post, we're uncovering the habits and tools that make that deep, defect-free shine possible, including the abrasives trusted by professionals at SHENZHEN SUN ABRASIVES.
The Pre-Spray Ritual That Makes or Breaks a Factory Finish
Most people assume a flawless paint job lives or dies at the spray gun, but anyone who's actually chased that deep, glassy factory look will tell you it's decided long before the first coat hits the panel. The real work happens in that quiet stretch of prep—the ritual of wiping, tacking, and inspecting under light from angles you'd never think to check. Skip it, and even the most expensive clearcoat will drag every fingerprint, dust speck, and leftover silicone into the final finish like a magnet.
Start with a solvent-based wax and grease remover, but don't just splash it on. Use two lint-free cloths: one to apply, one to wipe dry while the surface is still wet. That wet-on-wet lift is what actually floats the contaminants off instead of smearing them around. Then go panel by panel with a tack rag, folding it into a loose pad and gliding with zero pressure—press too hard and you embed the sticky resin right into the primer. After that, close the garage doors, kill the fans, and let the air settle for ten minutes while you mix your paint.
The final step most people forget is the light check. Hold a work light almost parallel to the surface and move it slowly. You're not looking for dirt at this point—you're looking for a faint haze, a dry spot, or that one corner where your tack rag skipped. If the panel doesn't look boring and uniform under raking light, it won't look clean under clearcoat either. That minute of double-checking is the difference between a finish that photographs well from six feet away and one that looks factory-perfect up close under showroom lights.
Why Most Shops Get Clear Coat Adhesion Wrong and How to Fix It
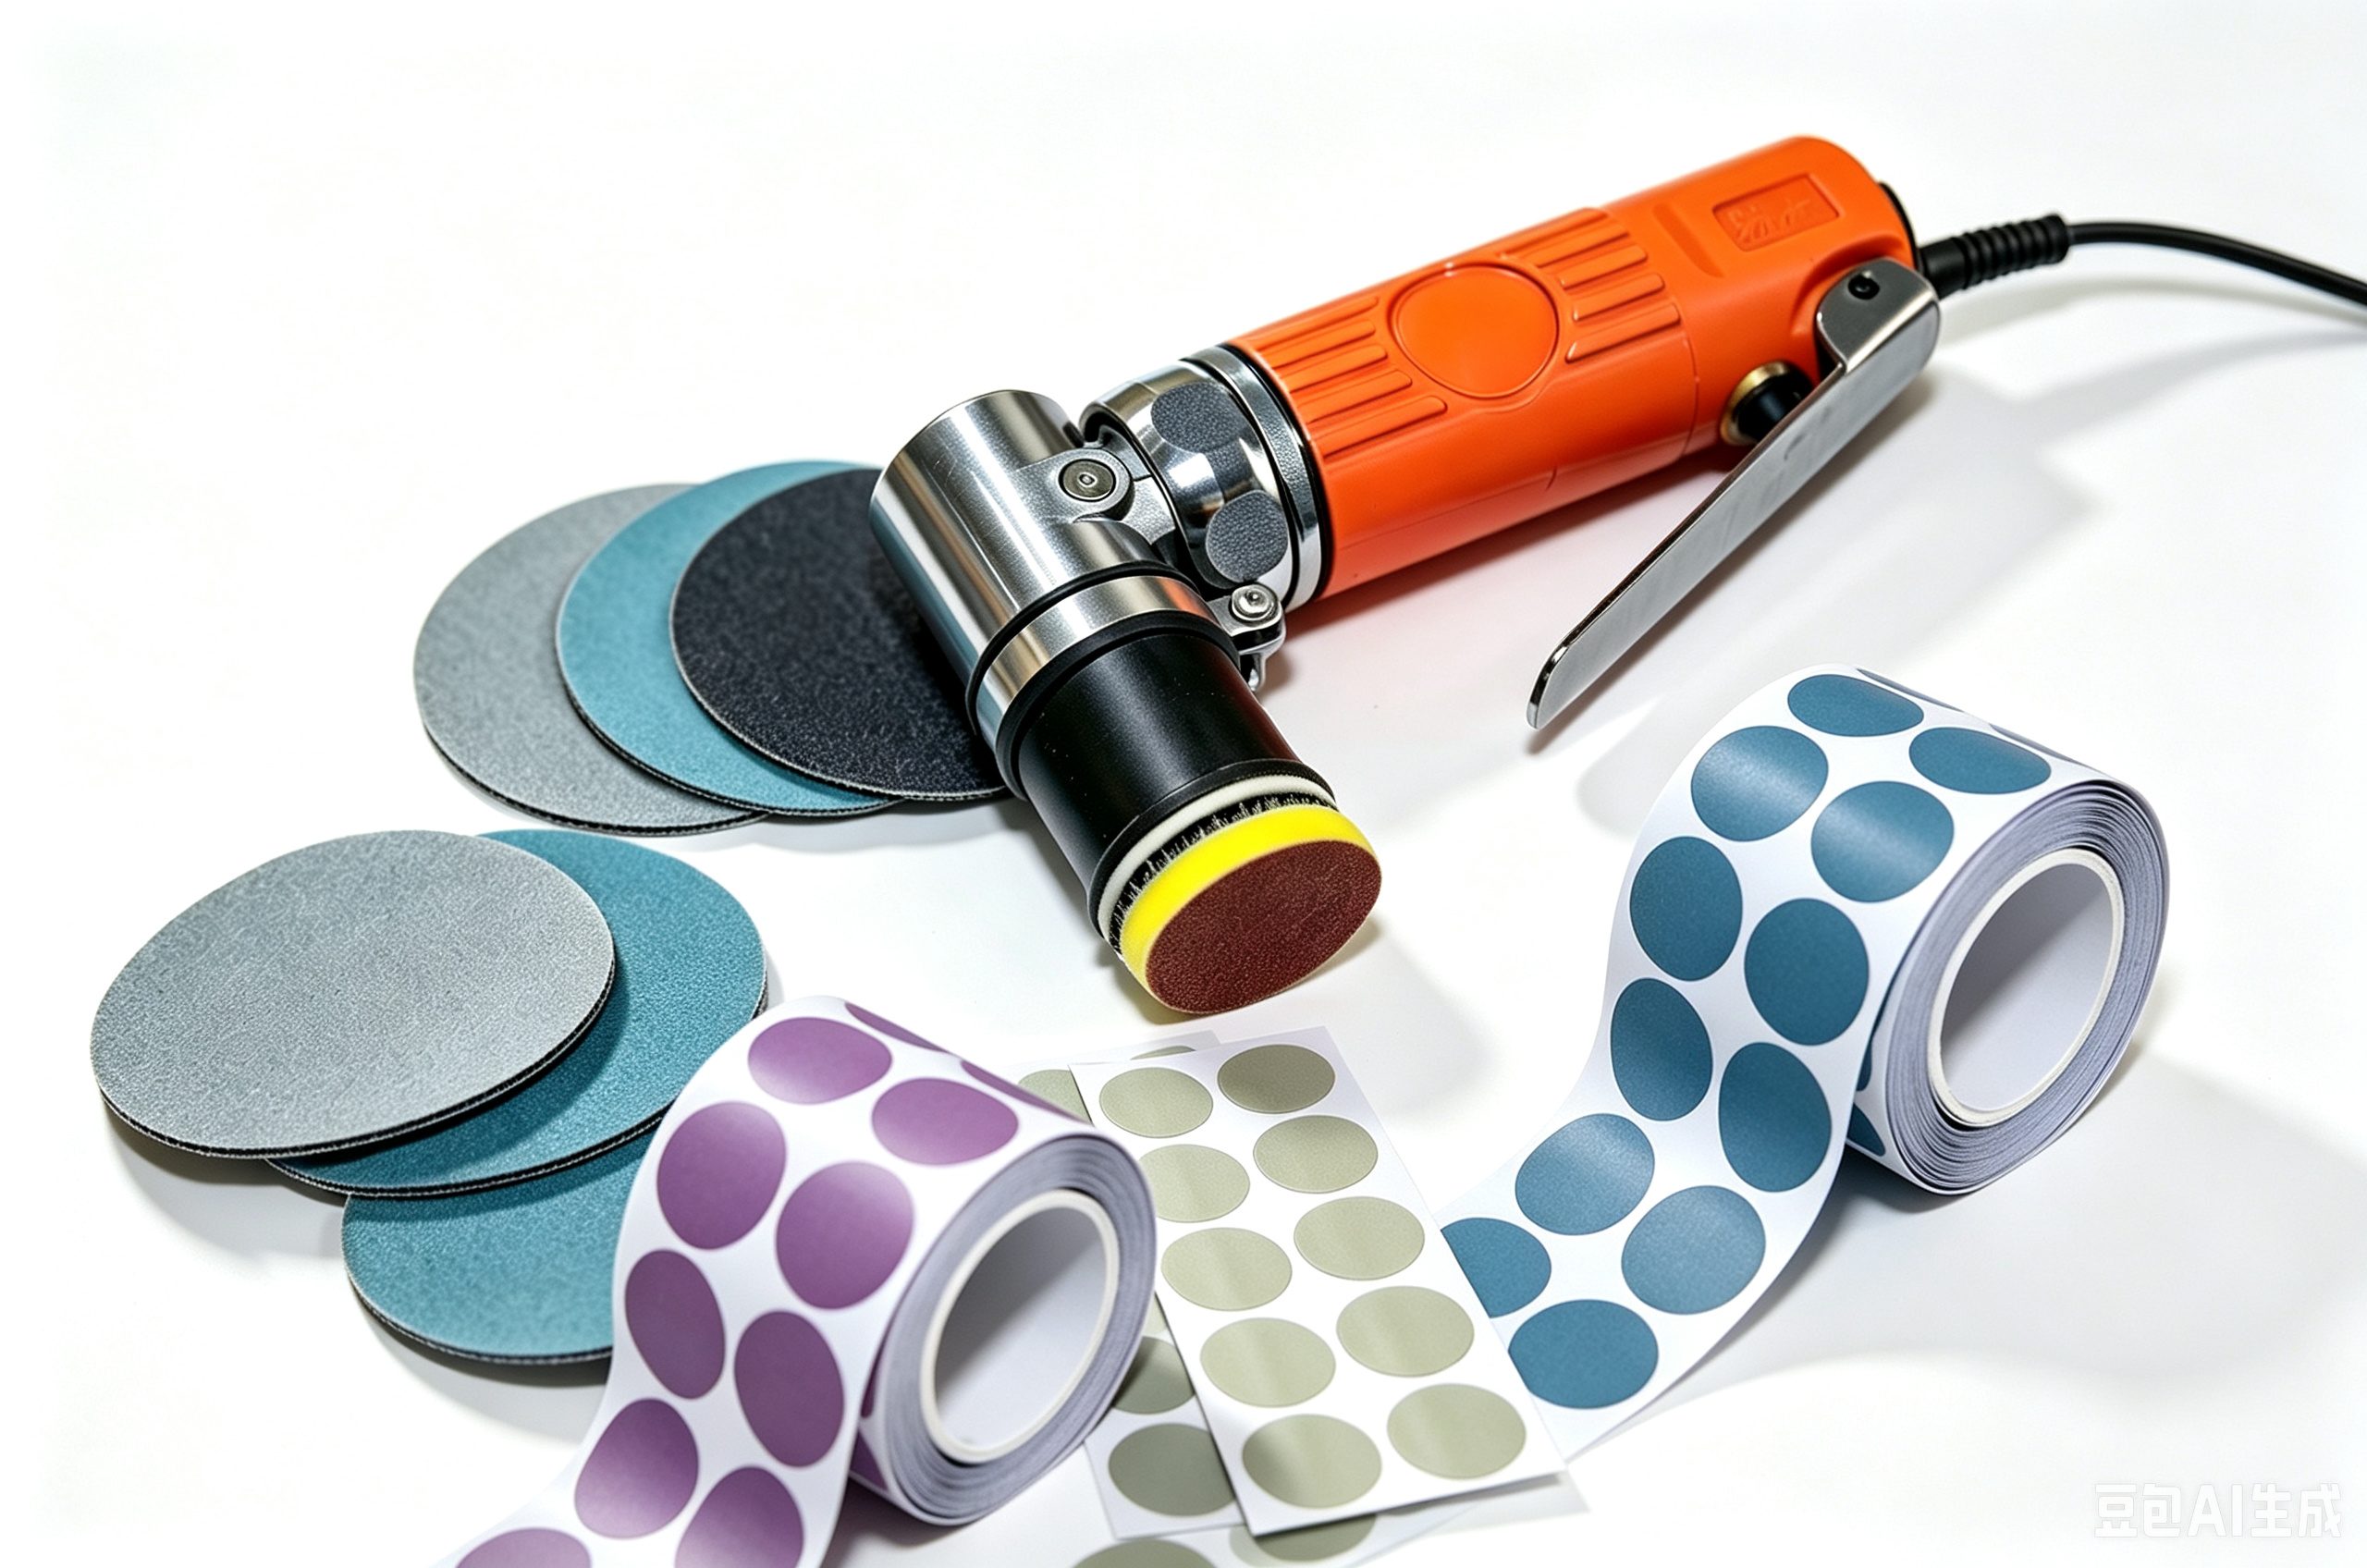
Clear coat failures rarely start with the clear itself. They start with what’s underneath. Shops that chase adhesion problems by scuffing harder or adding more flash time often miss the real culprit: surface contamination. Even a faint film of silicone, wax, or hand oil can break the bond before the first coat lands. The fix isn’t more sanding—it’s a dedicated panel wipe using a low-residue solvent, and making sure tack rags aren’t leaving their own residue behind. Many techs grab whatever is on the bench, but that habit is exactly what keeps the cycle going.
Another overlooked factor is the window between base coat and clear. Waiting too long lets the base coat fully cure, which makes it slicker and harder for the clear to bite into. Waiting too little can trap solvents and create micro-blisters that look like adhesion failure later. The sweet spot is usually a tacky but not wet base—check the product data sheet, but also pay attention to how the surface feels. If it feels like glass, you’ve already missed the window. Scuff it lightly, recoat a thin adhesion-promoting base layer, and then clear while the chemistry still has something to grip.
The Art of Invisible Blending on Metallics and Pearls
Metallic and pearl finishes refuse to behave like standard opaque paints. The reflective flakes or mica particles sit at different depths and angles, so any time you drag a loaded brush across a drying edge, you disturb that alignment and create a visible seam. Invisible blending here means controlling both pigment and sparkle orientation in the same pass. Start with a heavily thinned mixture—almost a tinted glaze—and keep the brush moving in one direction across the join. This lets the flakes settle into a uniform pattern instead of piling up at the transition line.
A second trick is to build the blend through several translucent layers rather than trying to wet-blend two opaque colors straight away. Apply the lighter metallic or pearl tone over the seam, then immediately soften the far edge with a damp, clean brush. Repeat with the darker tone from the opposite side. Because each layer is thin enough to show the layer beneath, the eye reads a gradual shift in brightness and flake density, not a hard border. Drying time between coats matters more than with flat colors—metallics can look fully dry on the surface while still being soft underneath, and disrupting that semi-cured layer is what creates cloudy patches.
Most failed blends on metallics and pearls come from overworking. Once the paint begins to tack, stop touching it. If a rim still shows after drying, don't try to scrub it out; mix a tiny amount of clear medium with a touch of both colors and apply it as a whisper-thin bridge. The final clear coat will also help unify the reflectivity, but it cannot hide a rough texture. Practice on curved plastic spoons before committing to a model or panel—the concave and convex surfaces reveal how light catches the flakes differently across the blend.
Climate Control Secrets for a Dust-Free Spray Booth
Most painters chase dust with tack cloths and air blow guns, but the real battle is won or lost in how you condition the air inside the booth. When the intake air carries even a slight temperature difference from the room, it creates invisible convection currents that stir settled particles off the floor and walls. Keeping the booth at a stable, slightly positive pressure compared to the outside works far better than trying to filter out every speck after it has already landed on fresh clearcoat.
Humidity control is the quiet hero here. Too dry and you build up static charges on plastic panels and masking film, turning the booth into a dust magnet. Too humid and you risk solvent pop or slower flash times. A target range between 45% and 55% relative humidity keeps static at bay without making the air heavy. Pair that with an air makeup unit that preheats or precools incoming air to within two or three degrees of the booth temperature, and you stop the miniature dust storms that happen every time the door opens or the fan cycles.
Finally, pay attention to airflow pattern rather than just raw CFM. A true downdraft booth pulls air down through the floor grates, but if the exhaust filters are dirty or the intake plenum is uneven, you get dead zones where overspray hangs in the air and dries into dust that later falls onto the work. Change both intake and exhaust filters on a schedule tied to hours of use, not just when they look dirty, and you will see fewer nibs in the finish without adding any exotic equipment.
Eliminating Orange Peel Through a Three-Stage Sanding and Buffing Process
Orange peel shows up as a wavy, dimpled texture in the clear coat after painting. The first stage of removal uses a hard block wrapped in 800 to 1200-grit dry sandpaper to knock down the high spots. You want to work in straight, overlapping passes and stop as soon as the surface appears uniformly dull; any sign of color on the sandpaper means you are getting too close to the basecoat.
The second stage refines those initial sanding scratches with 1500-grit and then 3000-grit wet sanding. Keeping the surface flooded with water and using a soft interface pad prevents deep gouges. Once the panel feels glass-smooth to the touch, a wool pad with a medium-cut compound removes the last haze and begins to bring back the clarity.
The final stage swaps to a foam finishing pad and a fine polish. Run the machine at a lower speed, keep the pad damp but not wet, and work until the polish turns nearly clear. Wipe the panel with a clean microfiber to check for any remaining texture, then repeat only the areas that still show uneven reflection. The result should be a flat, mirror-like finish without any trace of the original peel.
The Final Inspection Checklist That Catches What Customers Never See
The last walkthrough before handoff is where experience separates a polished job from a headache waiting to happen. It is not about glaring at the surface you just cleaned. It is about kneeling down to check the baseboard behind the door, running a finger along the underside of the counter, and opening every drawer to see if crumbs or dust bunnies have taken refuge. Customers rarely open the cabinet above the fridge, but they will remember if they do and find a layer of grime. That is why the final inspection starts with the places people forget to look, because that is exactly where oversight hides.
Beyond dirt, this checklist hunts for the subtle glitches that ruin the feeling of a fresh space. A misaligned outlet cover, a smudge on a light switch, a faucet handle left at an odd angle—these tiny details never make it into a complaint, but they quietly cheapen the whole result. The inspection also includes a smell test. Walk into each room and breathe in. If it does not smell neutral, something was missed. Trash can liners, damp rags left behind, or a fridge set too warm can all undo hours of work. Catching these before the customer returns is the difference between an invoice that gets paid without question and a callback that eats the profit.
Finally, the checklist covers a ten second pause in every room. Stand still, look from left to right, top to bottom, and ask one question: does this room feel untouched by human hands? If the answer is anything less than an immediate yes, something needs another pass. This is not about perfectionism for its own sake. It is about respecting the client's trust. They hired a professional because they do not want to inspect anything themselves. When they open the door and sense that nothing was overlooked, they may never articulate why. But they will book again, and they will tell their friends. That quiet confidence is the real deliverable.
FAQ
Factory lines rely on electrostatic application and precisely controlled ovens that are hard to replicate, but a skilled refinisher can get very close by paying attention to fluid tip size, booth airflow, and letting each coat flash properly. The gap usually comes down to patience and cleanliness, not just equipment.
We wet the floor before spraying, use tack cloths on the panel and our own sleeves, and shut down the booth fans for a couple of minutes after the last pass. Most dust actually comes from the painter's clothing or a dirty air hose, so addressing those sources makes a bigger difference than adding more filters.
That's metamerism—different pigments can reflect light the same way under one source and differently under another. We always check a spray-out card in natural daylight and also under a warmer light before mixing a full batch. If the variant still shifts, we adjust the toner mix toward the axis that matters most for that customer's parking situation.
Orange peel happens when the clear doesn't flow out because it's too thick, the booth is too cold, or the gun is held too far away. To level it, we start with 1500-grit on a hard block for the high spots, then move to 3000-grit on a soft interface pad. The trick is measuring film thickness after every few passes instead of guessing.
Yes, if you're willing to mix the basecoat a touch duller and warmer than the original spec and then fade the clear over a larger area. The key is to polish the transition zone so there's no visible line, and to let the customer know the blend will age differently over the next two years. That honesty saves a lot of comebacks.
Baking speeds up crosslinking and gives you a harder film in a few hours instead of a few weeks, but you can get similar long-term durability from a slow cure if the booth stays clean and warm. We still bake whenever possible because it cuts down on dust settling into the soft surface and lets us sand and polish the same day.
Cutting and polishing is where most of the magic happens, but people rush the compounding stage and leave micro-scratches that flatten the reflection. We use a slow-speed rotary with a wool pad first, then switch to a foam pad and a finer polish, checking with a handheld light at a low angle. Skipping the inspection is why some cars look hazy in direct sun.
We slow down the reducer, add the minimum amount of retarder suggested for the booth temperature, and avoid piling on heavy coats. Letting the base flash until it's uniformly matte before clearing is non-negotiable. If the humidity is above 80%, we reschedule the job rather than fight fisheyes from water in the air lines.
Conclusion
A flawless factory finish starts long before paint hits metal. Shops that consistently turn out mirror-smooth work treat the pre-spray ritual as non-negotiable: surfaces are wiped down, degreased, and tack-clothed with a discipline that borders on obsessive. That same mindset carries into clear coat adhesion. Rather than guessing at flash times or mixing ratios, experienced refinishers dial in their environment and product temps, because a rushed clear coat is exactly where peeling and die-back begin. On metallics and pearls, the real skill is invisible blending—feathering the base so tightly that even under harsh light you can't find the repair edge. It's not magic, just controlled overlap, reduced pressure on the final passes, and knowing when to walk away and let the solvents breathe.
Booth climate is the unseen player. Keeping positive pressure, filtered intake air, and stable humidity prevents dust nibs from ruining an otherwise perfect panel. Once the clear has cured, orange peel gets addressed through a three-stage process: dry sanding or denibbing to flatten texture, followed by fine sanding to remove coarse scratches, then machine polishing to restore gloss. The final inspection is where top shops separate themselves. They check reflections at multiple angles, run a bare hand over edges, and use a paint thickness gauge to confirm no thin spots. That last pass catches what customers never see, but it's exactly what keeps them coming back and trusting the shop with their car.
Contact Us
Contact Person: Amanda Wang
Email: [email protected]
Tel/WhatsApp: +86-13602569854
Website: https://www.sunabrasives.com.cn